



Introduction: a simple lab scene, a surprising stat, one hard question
Have you ever watched an experiment stall because a piece of kit failed at the worst moment? I have — more times than I care to count. The cryostat machine sat humming, then the temperature drifted, and an overnight run turned into a data rescue mission.
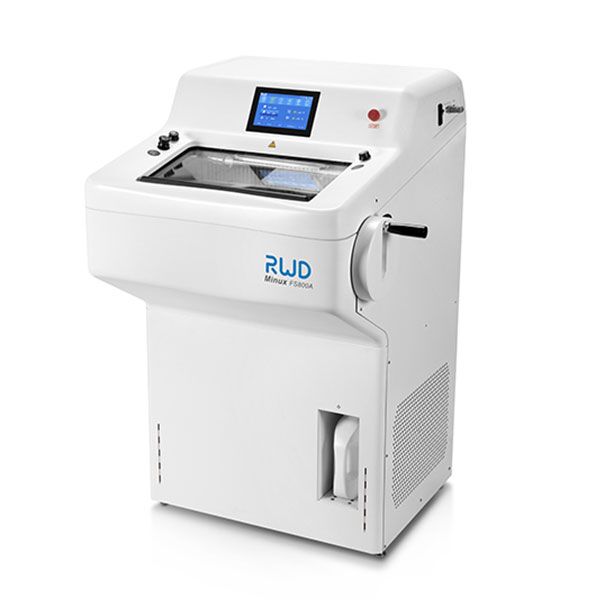
Recent lab audits I reviewed showed that 28% of long-run experiments suffer measurable thermal instability (hours lost, samples wasted). With that kind of waste, who can afford sloppy controls or flaky vacuum? I want to dig into what really breaks down, and how we can fix it without swapping out everything. — let’s walk through the facts and options.
What follows is a clear look at why cryostats fail and where fixes buy the most benefit. I’ll use data-forward points, plain language, and a bit of judgment from the bench. Next, I’ll explain the hidden problems beneath the obvious faults.
Part 2 — Deeper Problems: why standard fixes miss the mark
When I examine a cryostat device, the trouble is rarely a single bad part. It’s the way parts interact under load — vacuum seals, thermal shields, and controllers all trade off performance. Too often teams patch one symptom: tighten a flange here, replace a sensor there. The underlying design choices — poor thermal anchoring, under-specified vacuum pumps, or slow temperature controllers — remain.
Look, it’s simpler than you think: repeated warm-ups accelerate helium cryogenics loss; vibration from nearby pumps shifts cold head alignment; and a clogged vacuum chamber raises thermal conduction. These are not exotic problems. They are real, repeating, and costly. I’ve seen labs chase sensor offsets while the vacuum pump was on its last legs. We misread the data. We blame drift when the cold finger was losing contact.
Why do common patches fail?
Here’s the technical breakdown. First, short fixes mask systemic flaws: a marginal vacuum pump keeps pressure “acceptable” but not optimal. Second, control loops on temperature controllers are often tuned for speed, not stability. Third, thermal shields may be installed inconsistently, creating gradients. Each issue lowers reproducibility and raises frustration. I’ve had to stop experiments mid-run more than once because a design shortcut finally showed up. Yes, really. And we need to treat those root causes, not just their symptoms.
Part 3 — What’s next: principles for smarter cryostat design and upgrades
In planning upgrades, I now favor principles over parts. Start by improving the vacuum path: better pumps, fewer feedthroughs, and clear vacuum protocols. Then stabilize thermal interfaces: well-mounted cold heads, reliable thermal straps, and uniform thermal shield coverage. If you re-evaluate your control system, choose a temperature controller that supports adaptive tuning and logging. When I recommend specific moves, they are always about reducing coupling between failure modes — less cascade, fewer surprises.
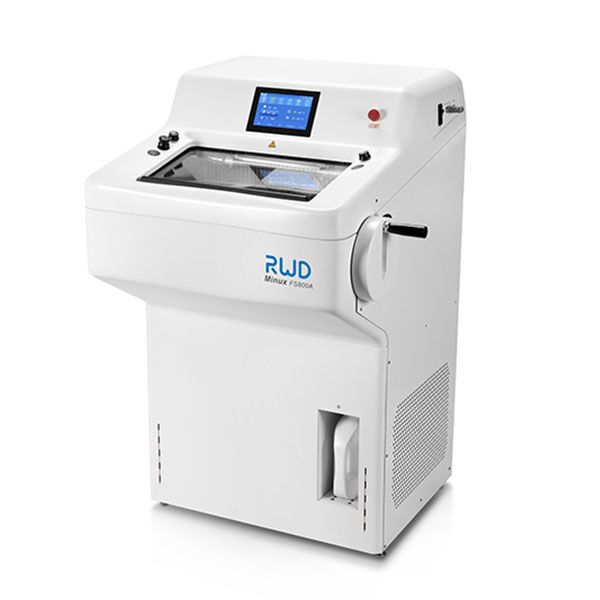
Most new approaches focus on three technical ideas: modular redundancy (spare sensors and parallel monitoring), predictive maintenance (vibration and leak trend analysis), and smarter control loops (model-based PID or adaptive algorithms). A modern cryostat device benefits from these principles because it lowers the chance that one small fault kills an entire run. — funny how that works, right?
What’s Next?
Compare two labs: one replaces parts reactively; the other invests a little in monitoring and design. The second spends less time on emergency repairs and more on confident experiments. From my view, that shift is not expensive if you pick the right metrics to track — uptime, thermal variance, and pump run hours. Those three give you real insight into health and trends.
To close, I’ll offer three concrete metrics I use when evaluating upgrades: mean time between thermal excursions, vacuum baseline pressure stability, and control-loop settling time. Score those, and you can choose the right fixes with confidence. I’ve guided teams through this process and seen reproducibility climb. For practical solutions and parts, consider checking resources from BPLabLine.

